
Launching an Advertising Campaign in Telegram Channels
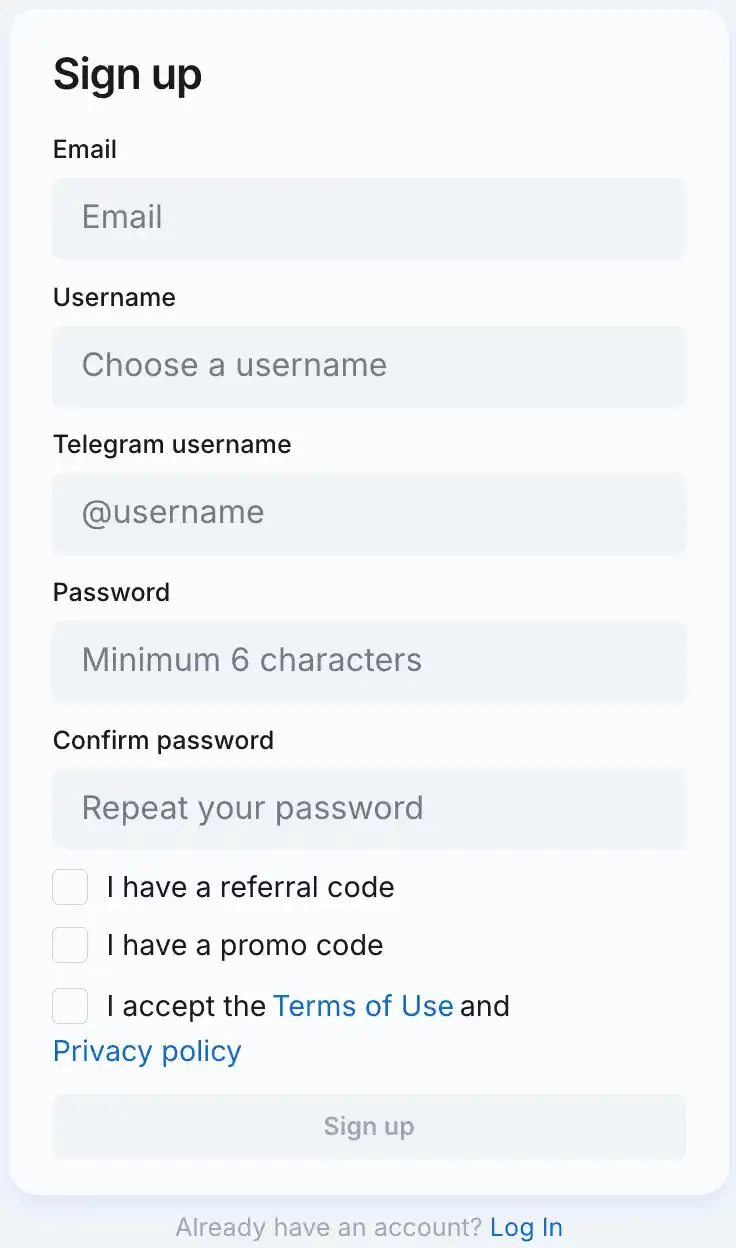
1. Register in the advertiser's personal account
WARNING
If you are already registered as a publisher in AdsGram, you must use the same login for the advertiser account. So we automatically won't show ad that lead to your app inside your app.
2. Creating an Advertising Campaign
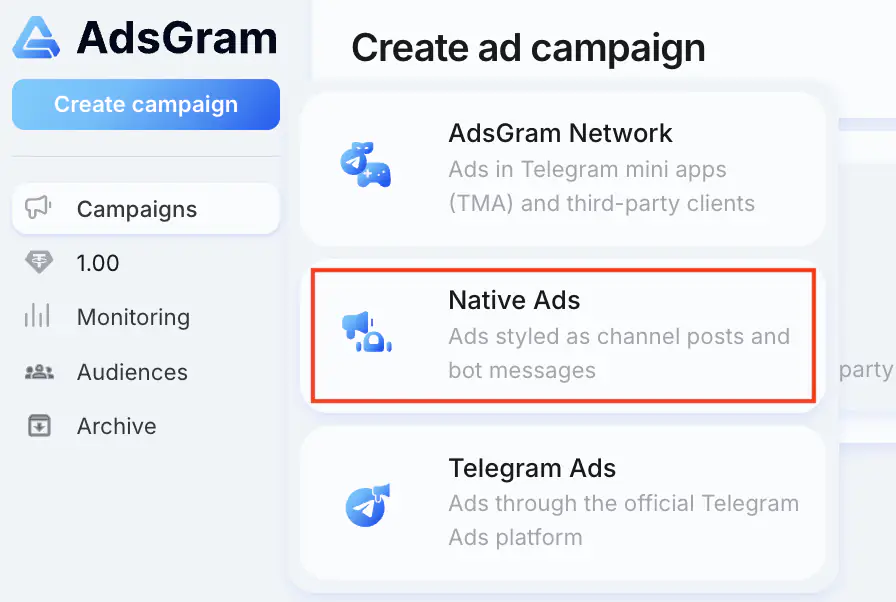
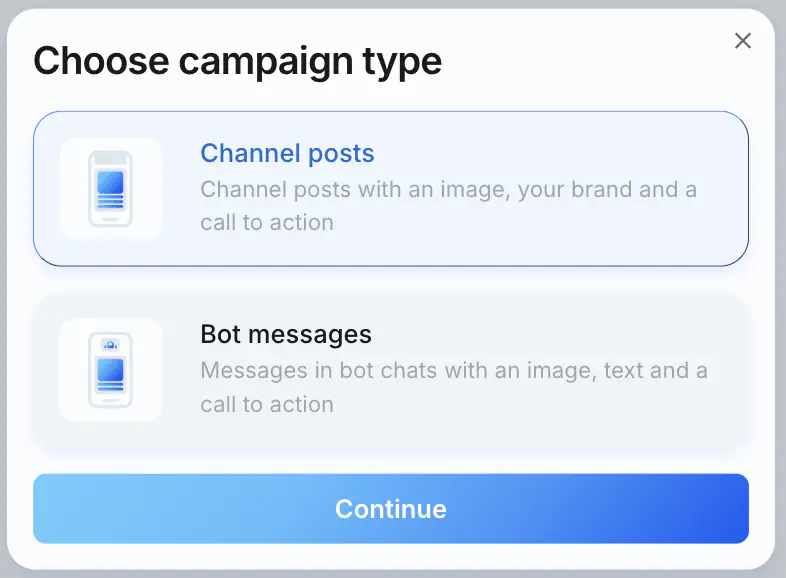
Click the Create Campaign button, select Native Ads and the Channel posts campaign type.
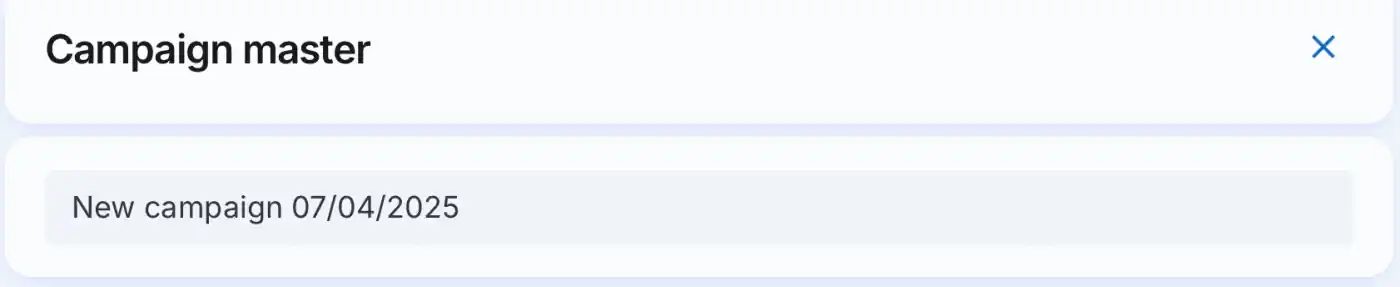
Enter the campaign name.
WARNING
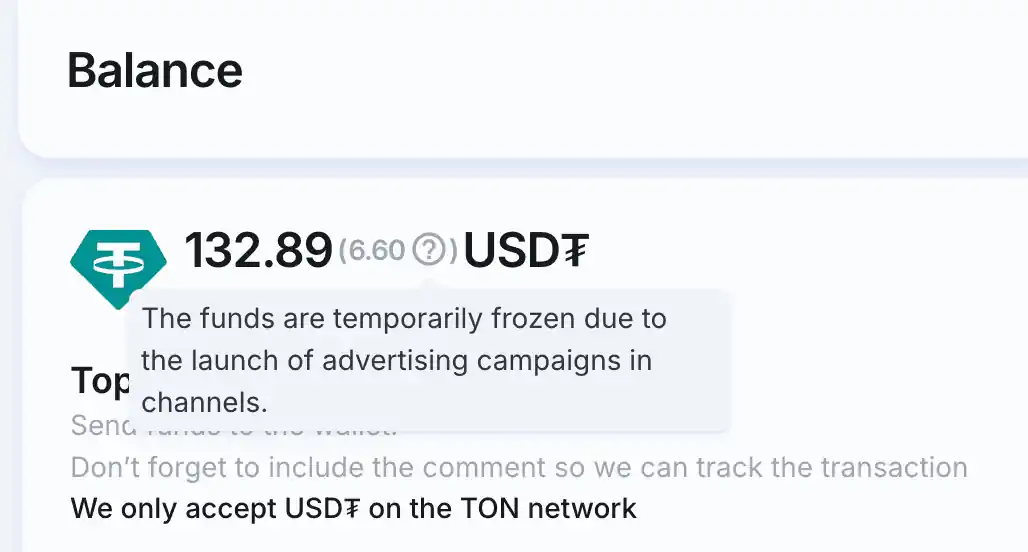
After launching a campaign, your balance is frozen for the predicted daily budget and is unfrozen after the ad is deleted or after 24 hours.
3. Filling out legal information
WARNING
This section is only relevant for ad campaigns targeting users in Russia.
If you need to include the ERID in your ad, please contact @adsgramsupport or support@adsgram.ai to activate this feature.
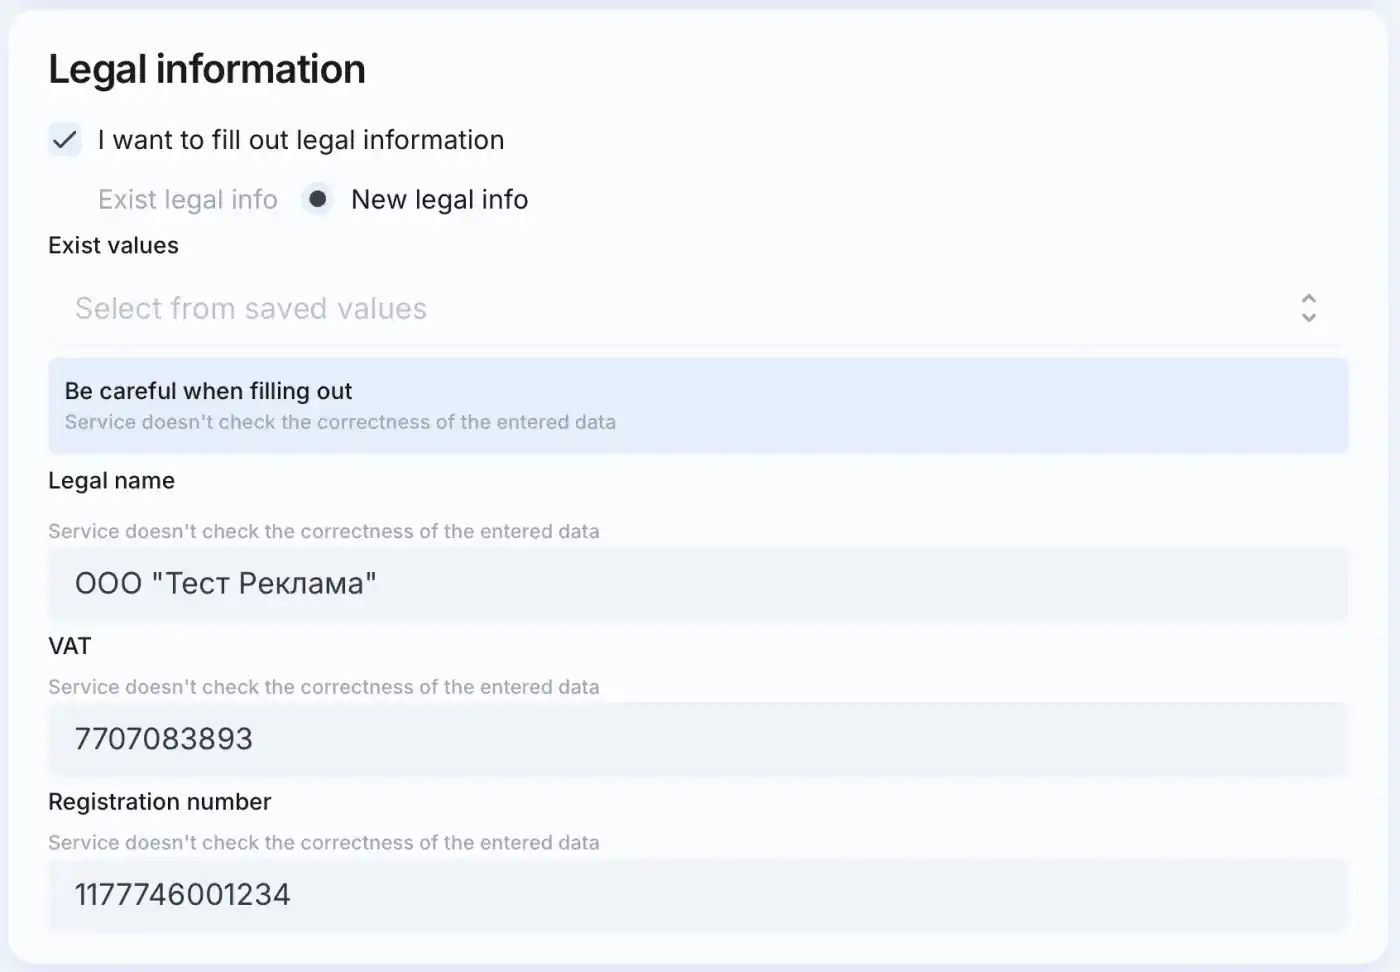
IMPORTANT
Be careful when filling out. Service does not generate an ERID and does not validate the token.
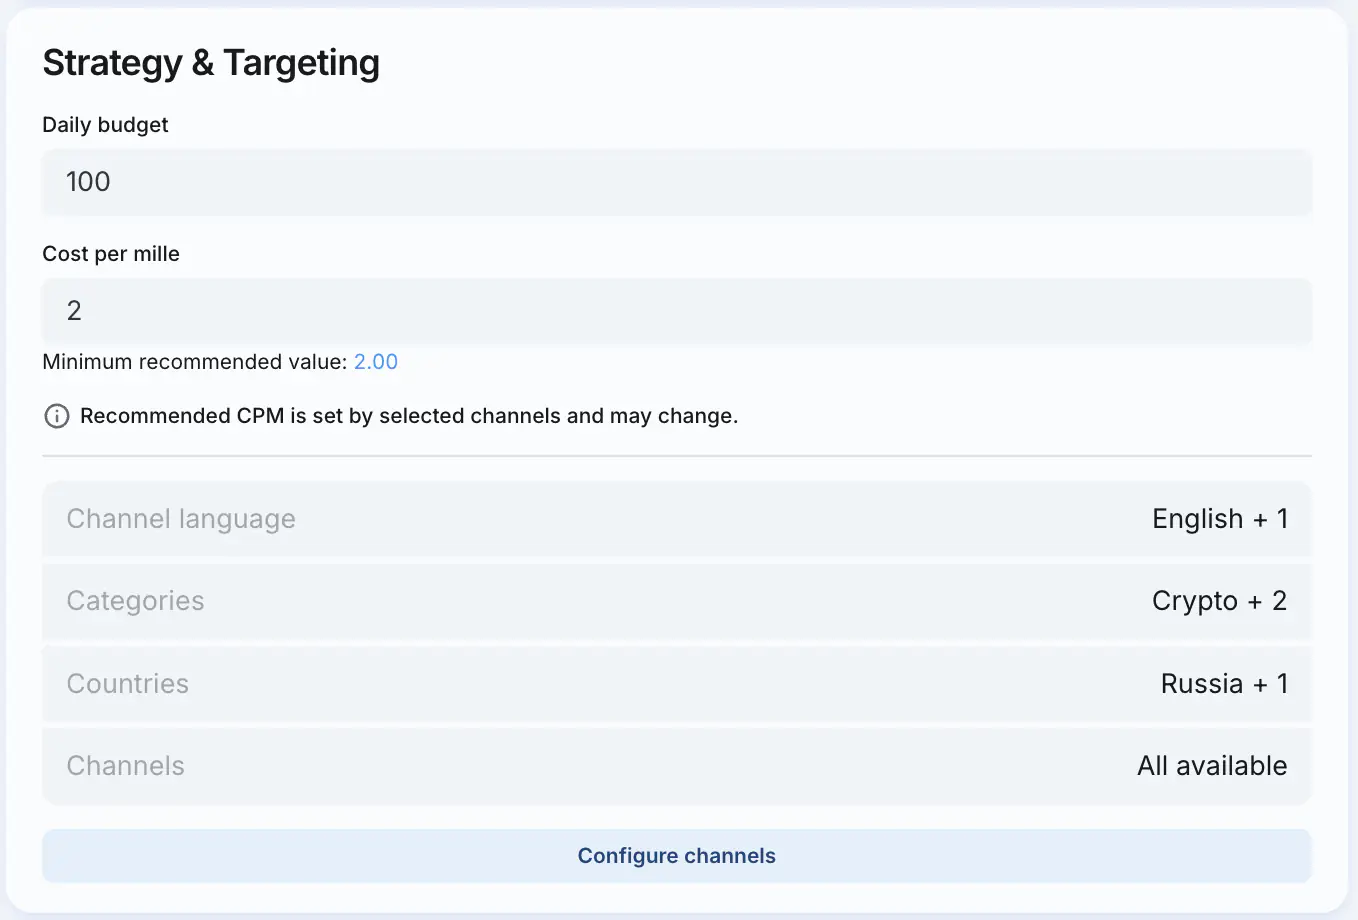
4. Filling out targeting and strategy sections
- Set the daily budget (minimum $100).
- Specify the cost per thousand impressions (CPM) (recommended CPM is set by selected channels and may change).
- To set up targeting, click the
Configure channelsbutton.
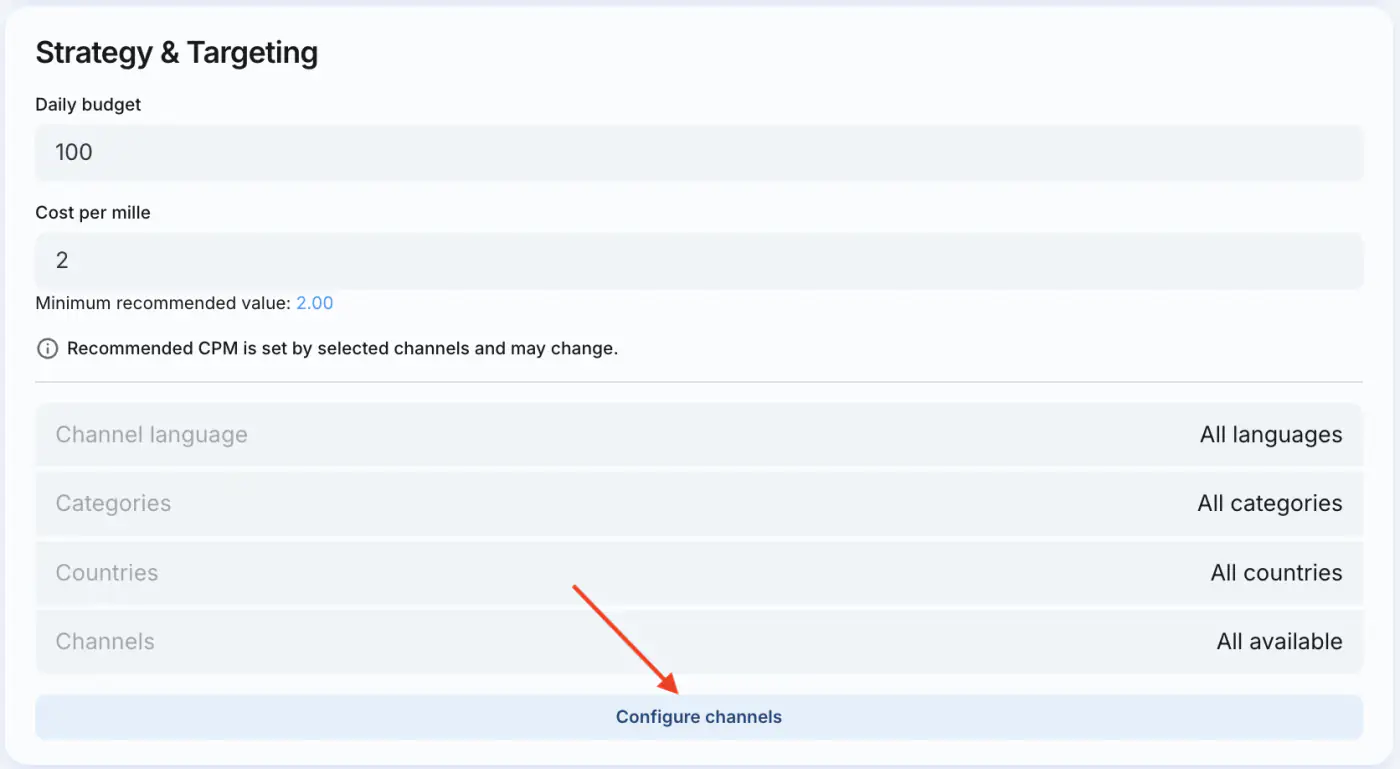
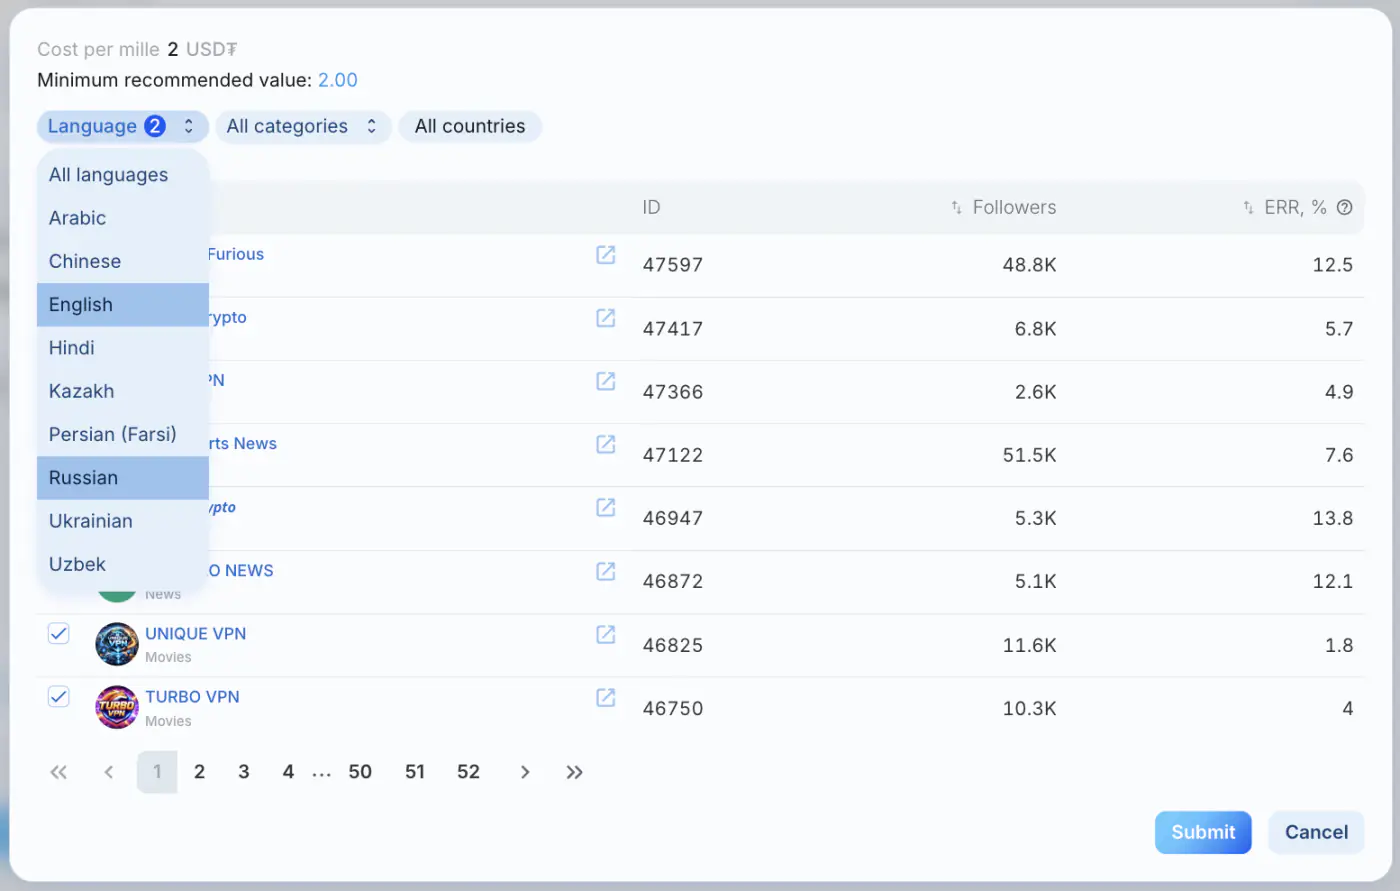
- Select the target channel language(s). By default, all languages are selected.
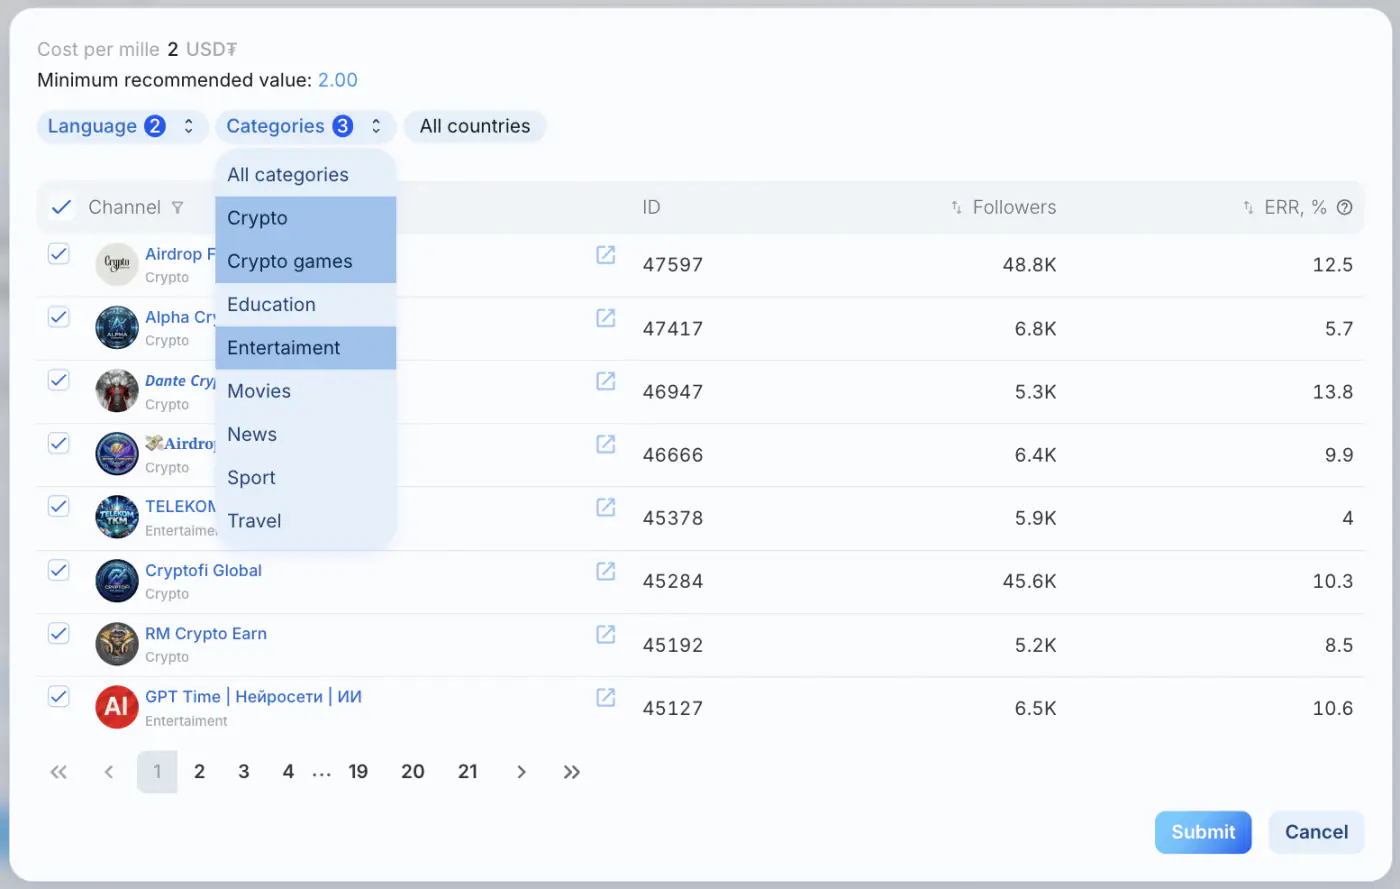
- Select the channel categories. By default, all categories are selected — your ads will appear across all channels.
If needed, you can choose specific categories (e.g., Crypto, Sports, Movies, etc.) for more precise targeting.
- Select the region (with the option to exclude / include specific countries).
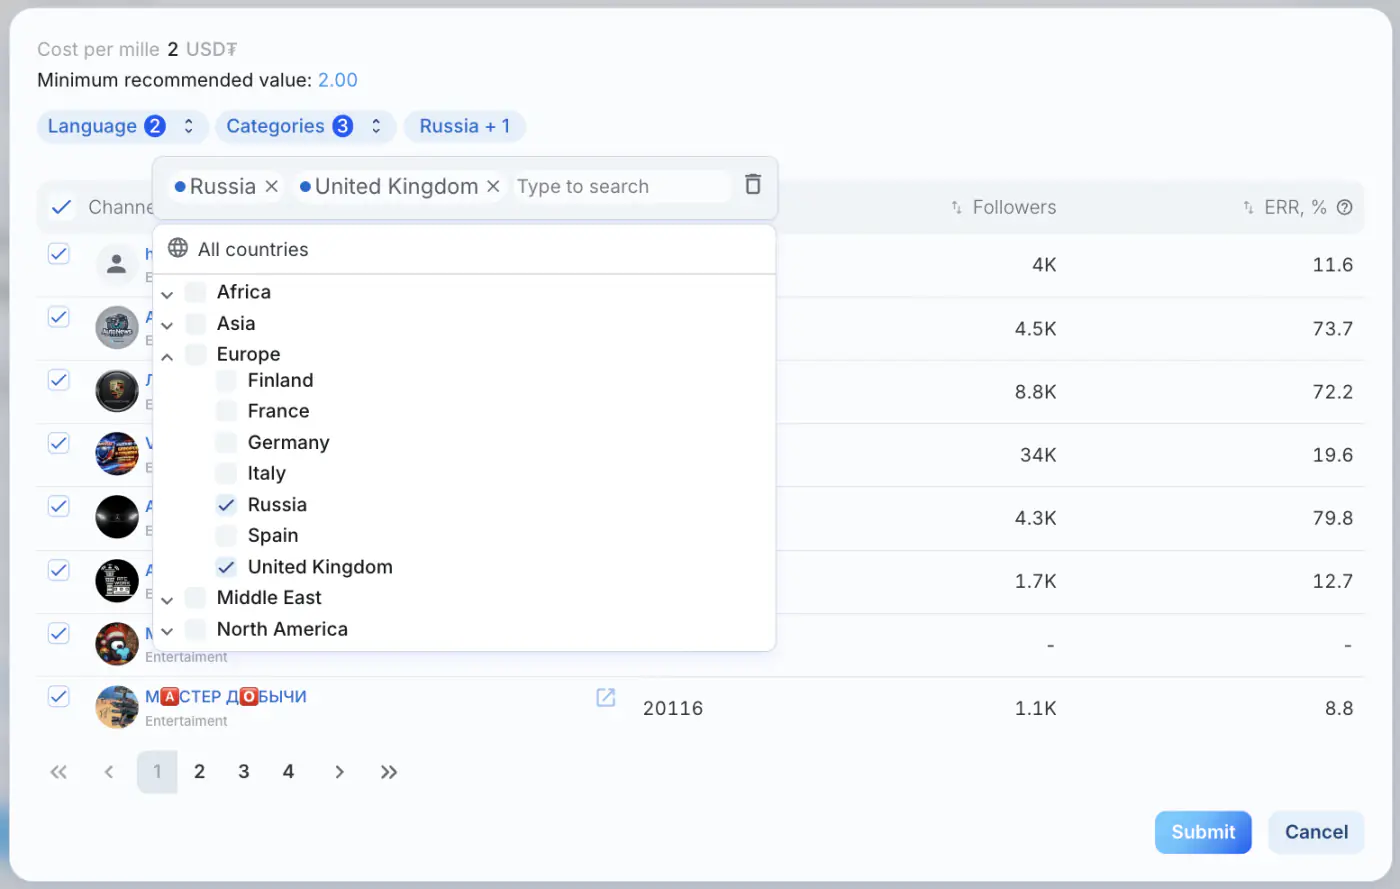
- If needed, select specific channels (minimum 5). For a more efficient search:
a) Enter a channel link or name by clicking the icon
b) Sort channels by number of subscribers or ERR (average post engagement rate)
5. Adding an Advertisement
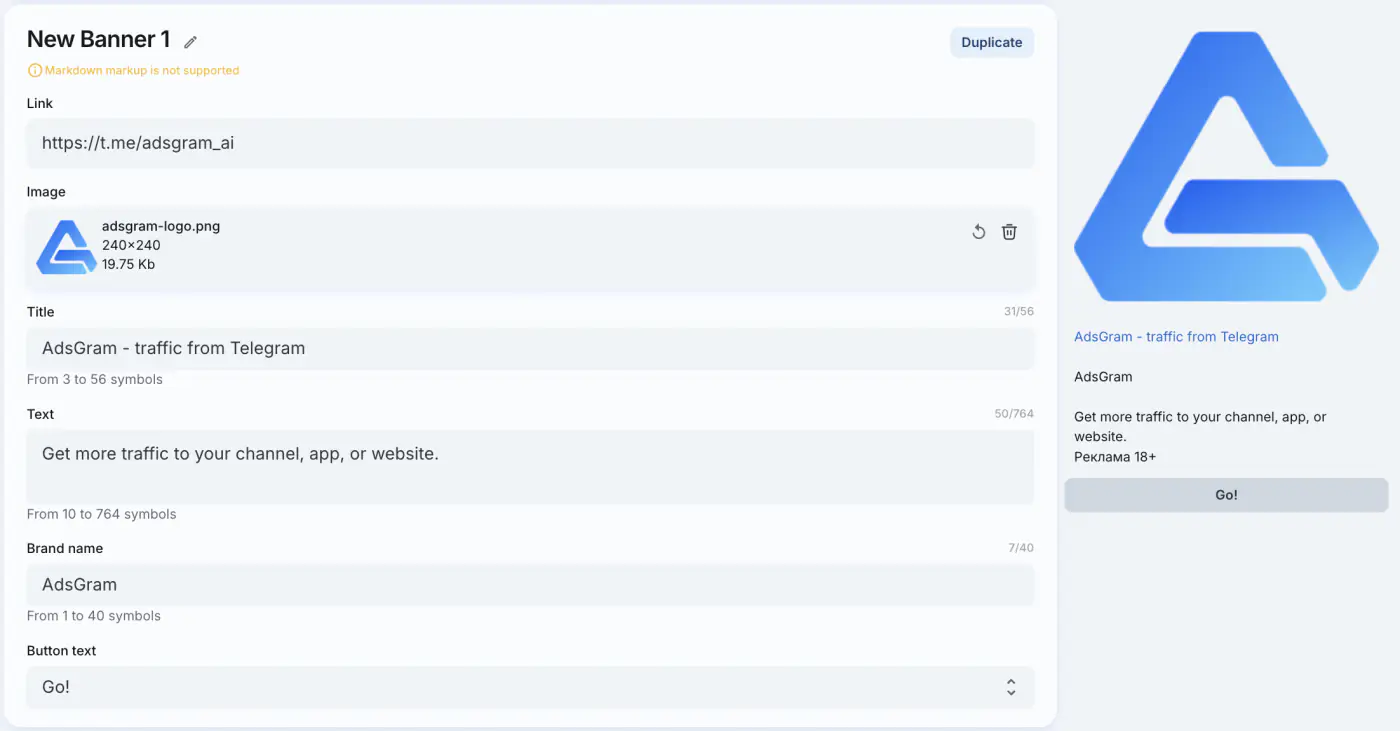
To create a banner, click the Add Banner button under the Strategy & Targeting section.

A campaign can have up to 10 banners that will be shown to users. You can set a custom name for each banner by clicking the pencil icon next to its name.
Fill in all the fields required for the banner. Learn more about the requirements for each of the campaign types on the banner types page.
When you fill in all the necessary fields, a preview of your banner will appear on the right.
6. Launching the Campaign
- Review all campaign settings.
- Click "Create Campaign and Launch".
- The campaign will be set to "Draft" status until it passes moderation.

🎉 Congratulations on launching your campaign!
Once approved, the campaign status changes to "Ready to start".
After launching, the campaign will start displaying ads to network users if the balance is positive.
How to top up your balance?
IMPORTANT
Before publishing a post, we calculate a view forecast based on the average performance metrics in the publisher's channel. According to this forecast, we freeze the advertiser's corresponding budget.
Shortly after the campaign starts, performance analytics will become available.
7. Monitoring the Campaign
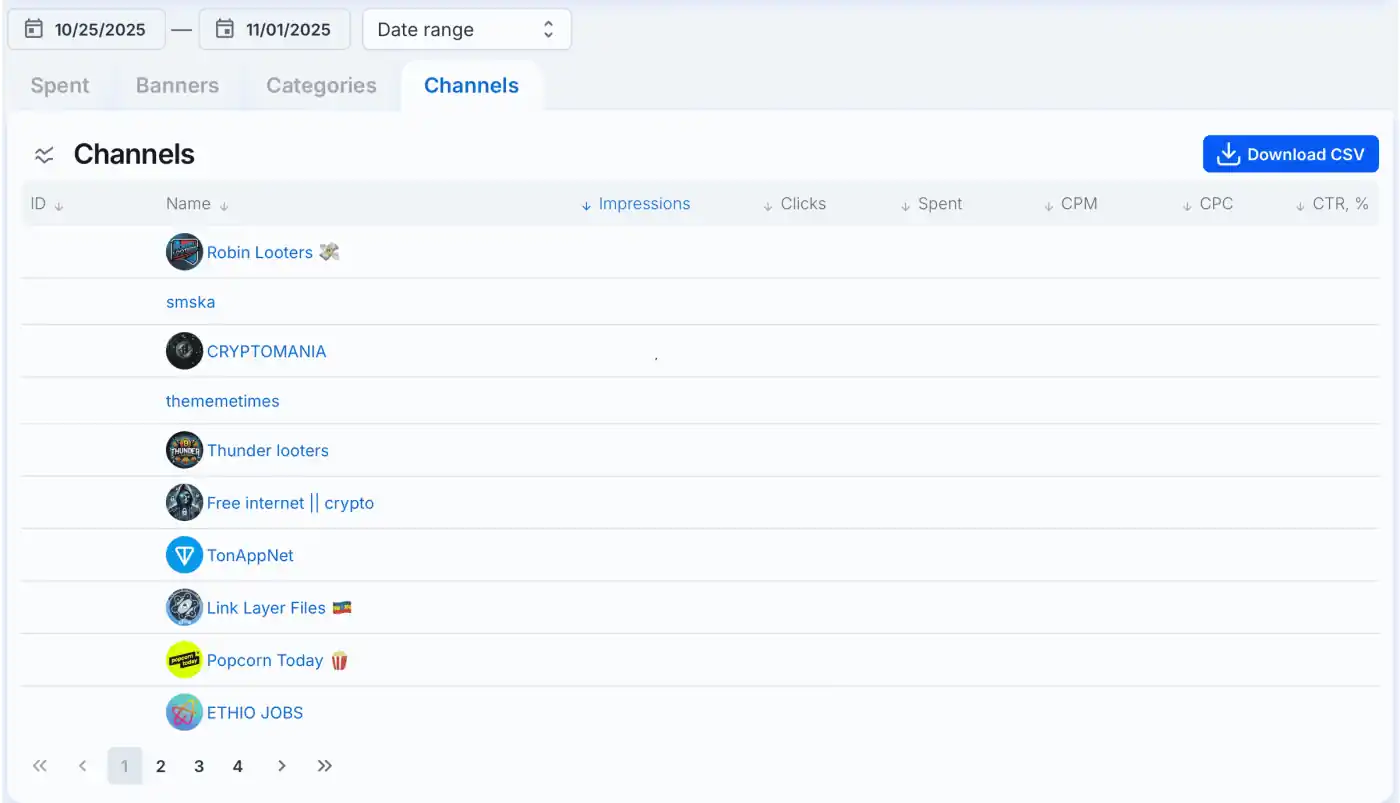
- The advertiser dashboard provides key performance metrics:
- Number of impressions
- Number of clicks
- Total Spend, USD₮
- CPM
- CTR, %
- Available analytics breakdowns:
- by banners
- by categories
- by channels
- Data can be exported to a CSV-file.
8. Modifying Campaign Parameters
After analyzing statistics, you can adjust campaign settings:
- Changing banner settings sends the campaign back to moderation.
- Adjusting strategy and targeting parameters does not require additional moderation.
If you have any questions, contact AdsGram Support.