
Launching Campaign in Telegram clients
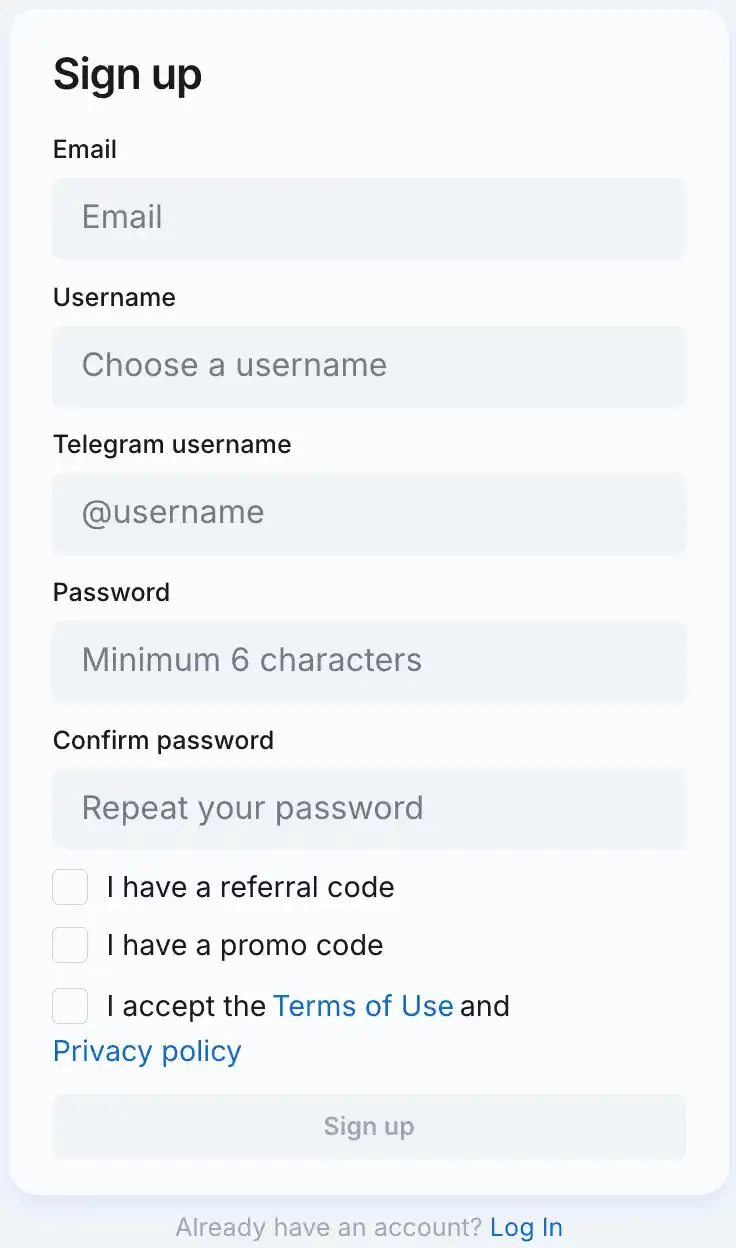
1. Register in the advertiser's personal account
WARNING
If you have already connected to our network as a publisher, it is important to authorize in the advertiser's account under the same login that you used to register in the publisher's account.
So we automatically won't show ad that lead to your app inside your app.
2. Creating campaign
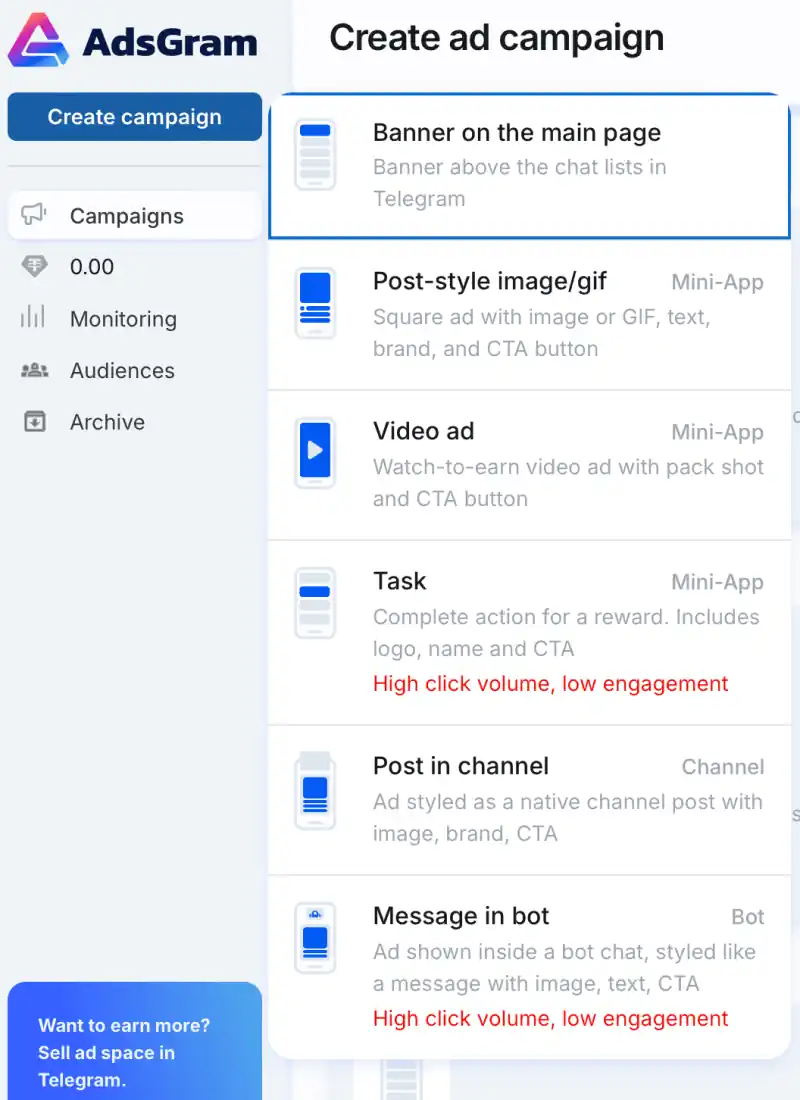
Click the Create Campaign button and select the Banner on the main page campaign type.
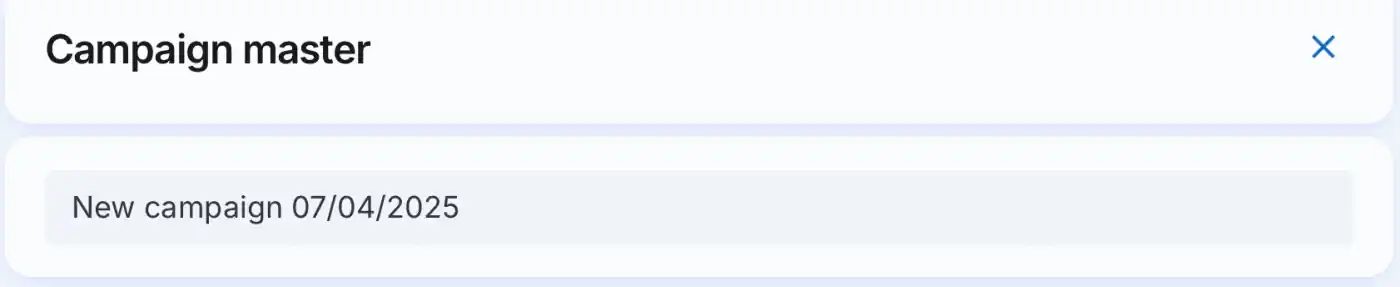
Enter the campaign name
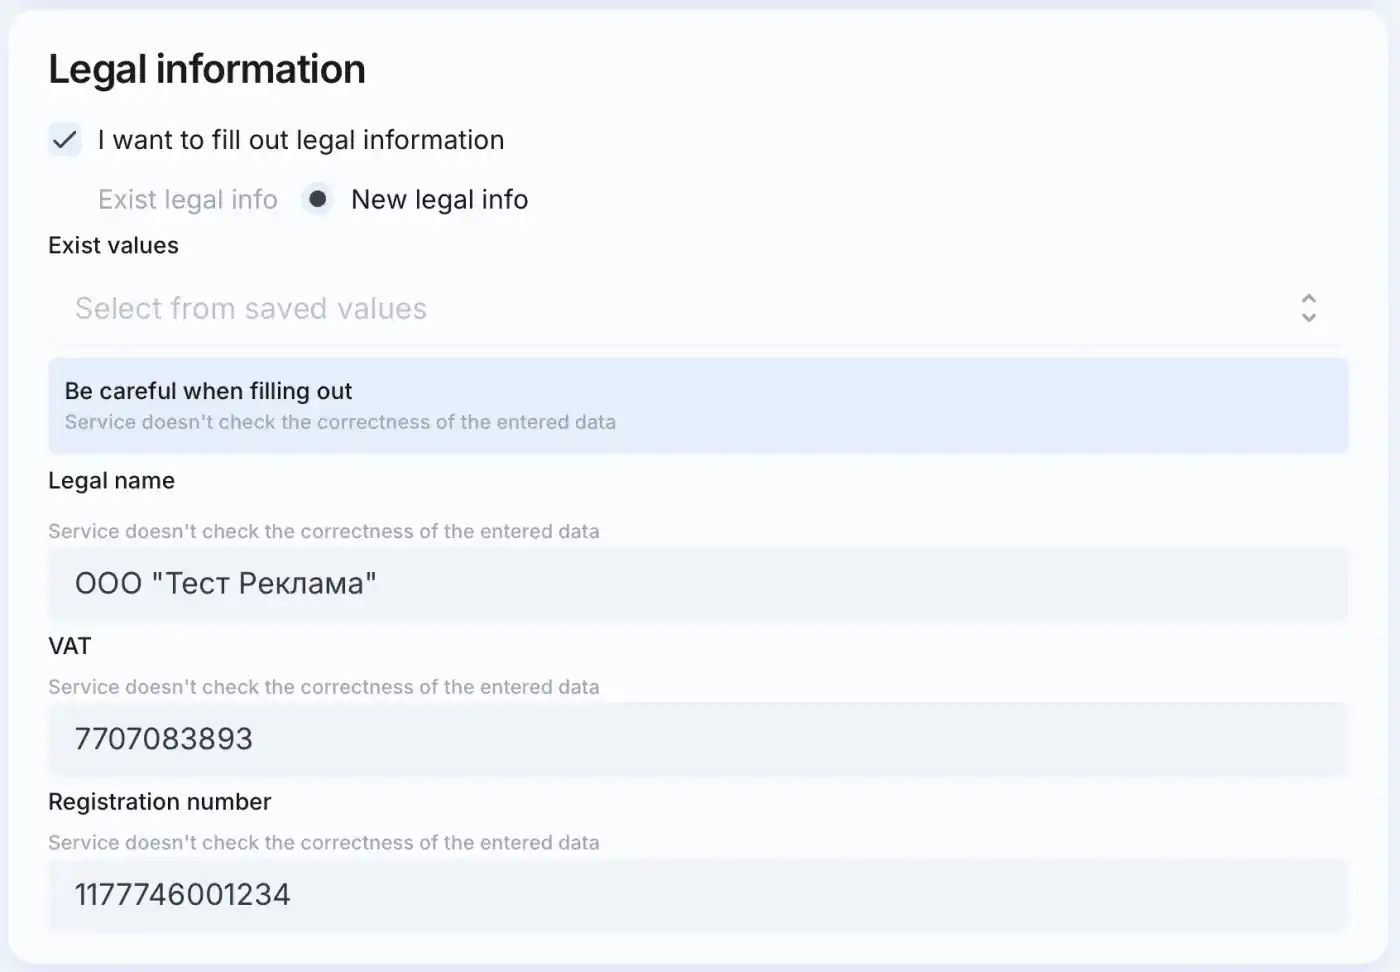
3. Filling out legal information
WARNING
This section is only relevant for ad campaigns targeting users in Russia.
If you need to include the ERID in your ad, please contact @adsgramsupport or support@adsgram.ai to activate this feature.
IMPORTANT
Be careful when filling out. Service does not generate an ERID and does not validate the token.
4. Filling in targeting
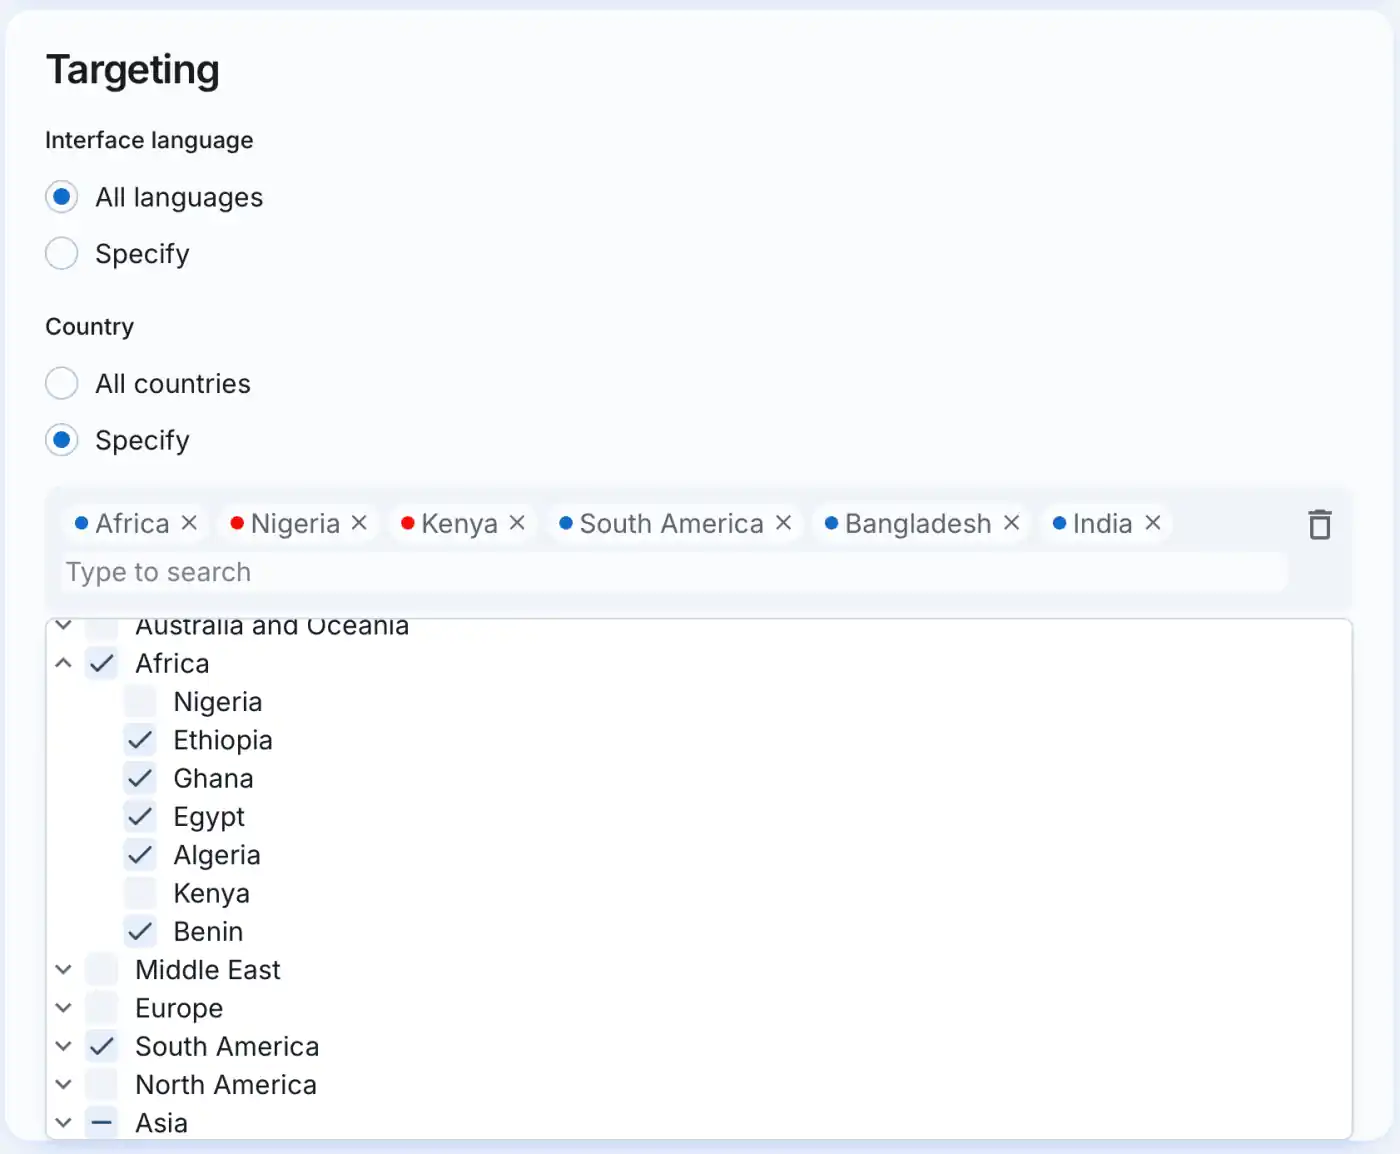
- Interface language
- Region (with the option to exclude / include specific countries)
- VPN settings
- Platform (iOS/Android)
- Telegram Premium status
5. Include or exclude audience
Choose specific segments to focus ads on them or exclude them from the audience to show. The campaign is limited to 10 segments for audience creation. 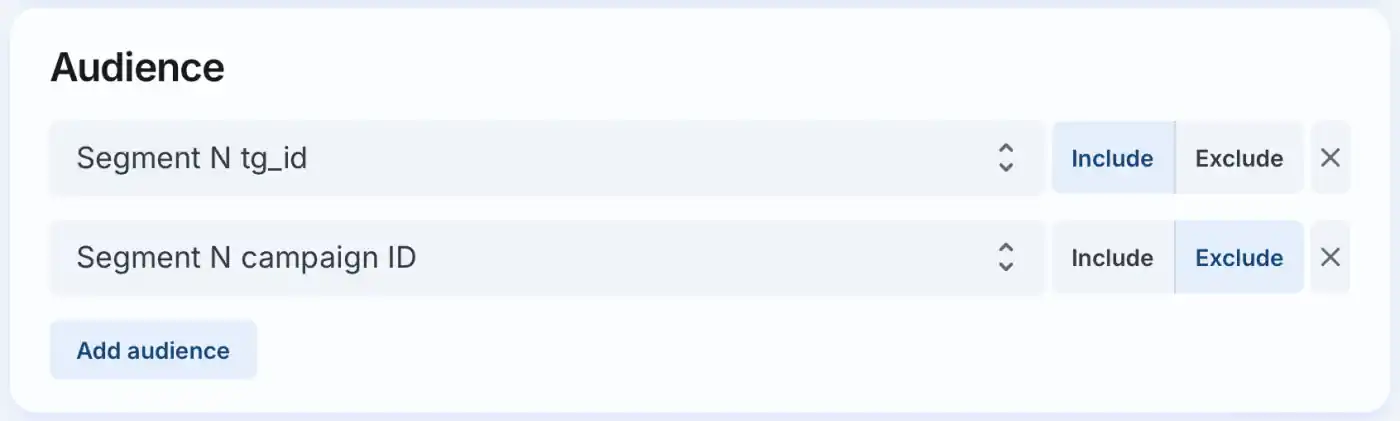
How to create segments of audience?
6. Fill in the strategy block
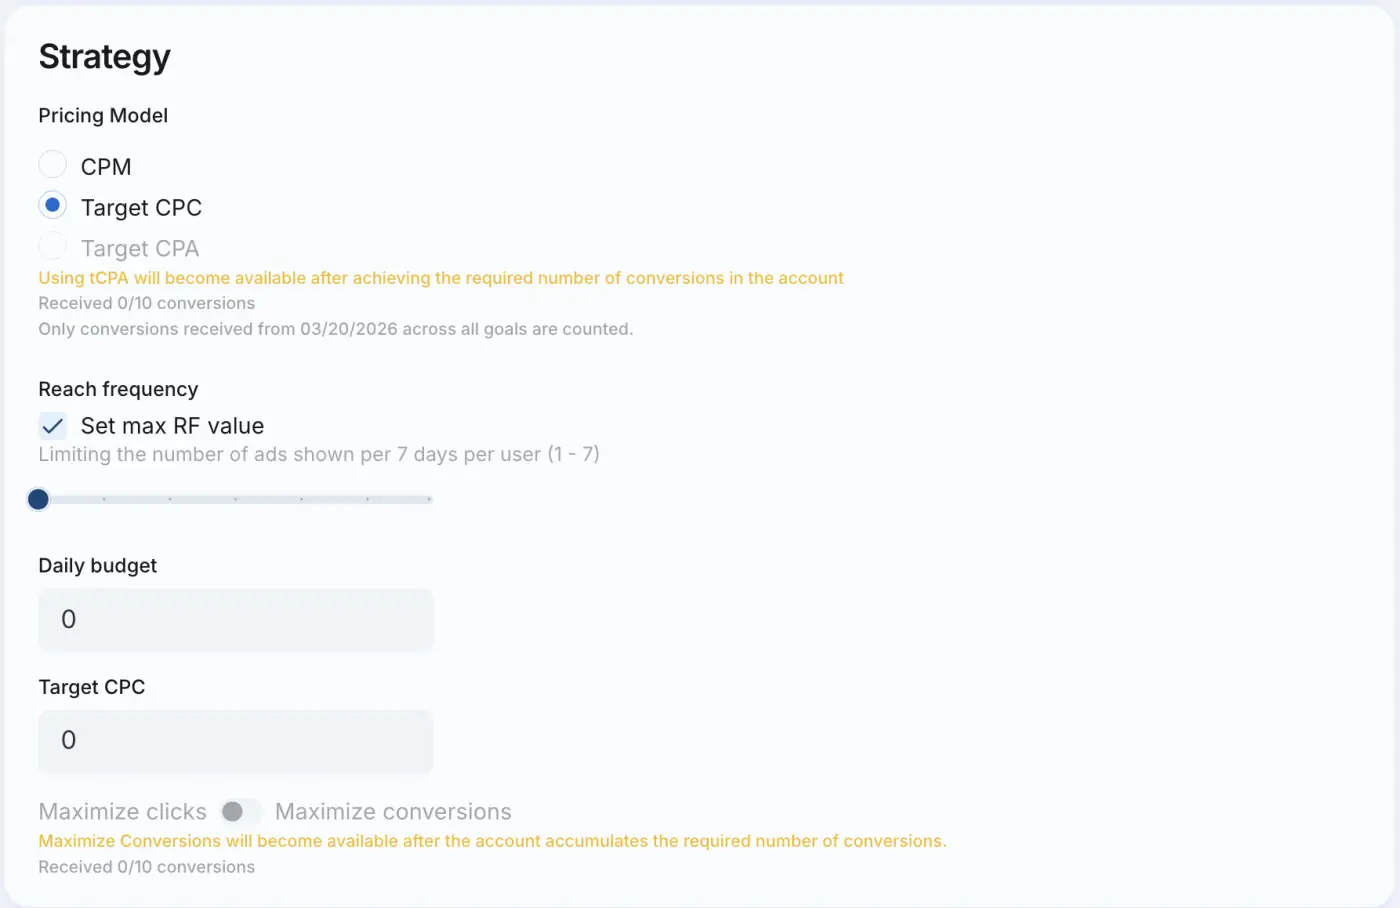
Pricing Model
When choosing Target CPC (tCPC) as the preferred pricing model, you are charged per 1,000 impressions. At the same time, the algorithm optimizes ad delivery toward users who are more likely to click, so that the actual cost per click does not exceed the Target CPC.
Reach frequency
By default, the frequency cap is set to 1 impression per user over a 7-day period. Use the slider to increase the frequency from 1 to 7 impressions per user over 7 days. A lower frequency allows you to reach a larger number of unique users.
Click the "Set max RF value" checkbox to disable the limit on the number of impressions per user over a 7-day period.
Set the daily budget (minimum: 20 USDT).
After completing the targeting settings, selecting the pricing model, and setting the daily budget, the system will suggest a recommended CPM or Target CPC (tCPC) to help you spend your budget efficiently.
IMPORTANT
The recommended CPM and tCPC depends on the targeting settings filled out earlier.
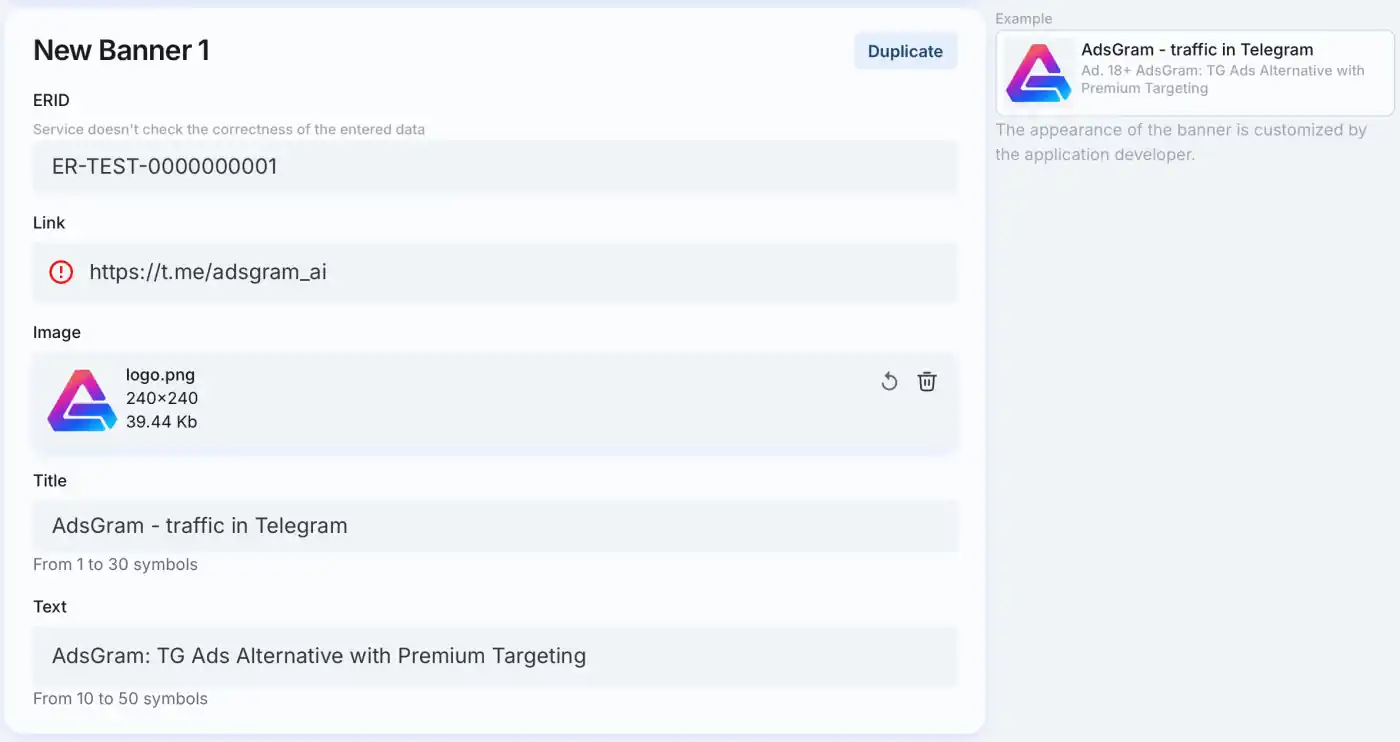
7. Create a banner
A campaign can have up to 10 banners that will be shown to users.
Fill in all the fields required for the banner. Learn more about the requirements for each of the campaign types on the banner types page.
When you fill in all the necessary fields, a preview of your banner will appear on the right.
TIP
If you advertise a web app, you can directly lead to the app, not to the bot. The bot creator can get a direct link using the /myapps command in BotFather. 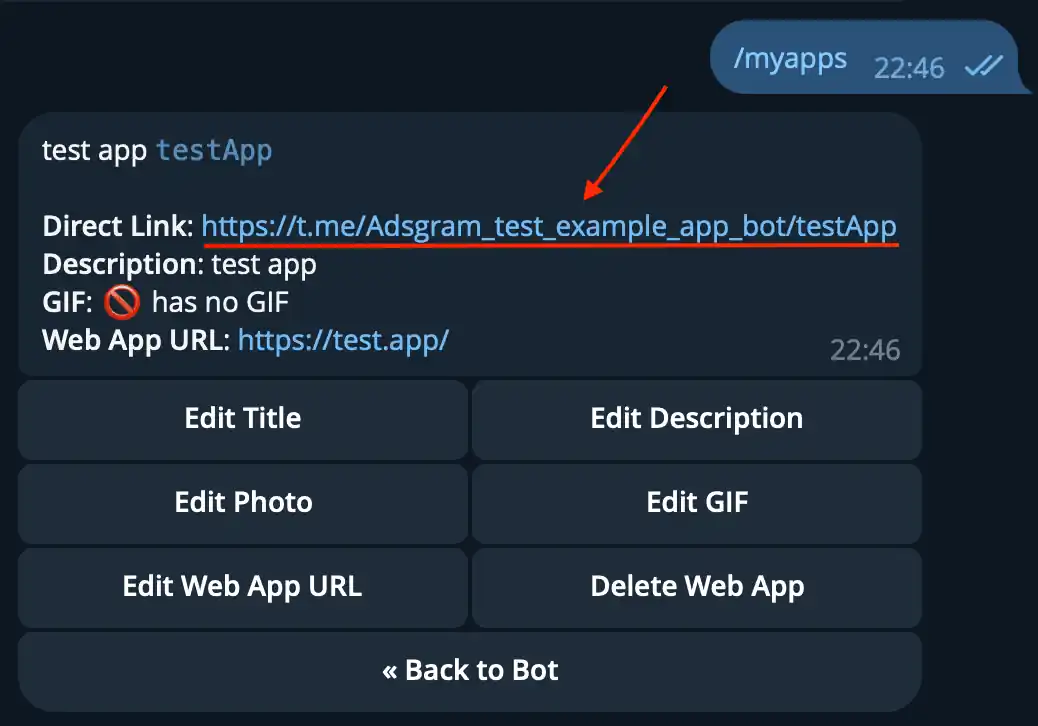
8. Launch the advertising campaign

🎉 Congratulations on the launch!
After passing moderation, the campaign status changes to "Ready to start".
After starting, the campaign becomes active and starts showing to network users if the balance is positive. How can I top up my balance?
After start, you will soon see the campaign analytics.
Changing Campaign Parameters
After reviewing the statistics and subsequent analysis, you might want to change the campaign settings. If you edit banner settings (related to the creative), the campaign will go back into moderation. Changes to strategy and targeting parameters do not require additional moderation.